By: Ashton Kusch, Mackenzie Suchy, & Janelle Nelson

Are you feeling down? Do you want to add some pizazz to your life? Look no further than at your very fingertips. Are they dull and lack color? Do you need a new form of expression? Knowing how to paint your nails is the answer to all these problems. Pick a color and paint away. Pick black if you’re feeling bold, or if you want some party nails, choose a sparkle based color. Any emotion you are feeling, there is a color for you to experiment with. If you don't like the color, you can remove and apply new colors at an endless rate. There is no easier way to express yourself than by painting your nails.
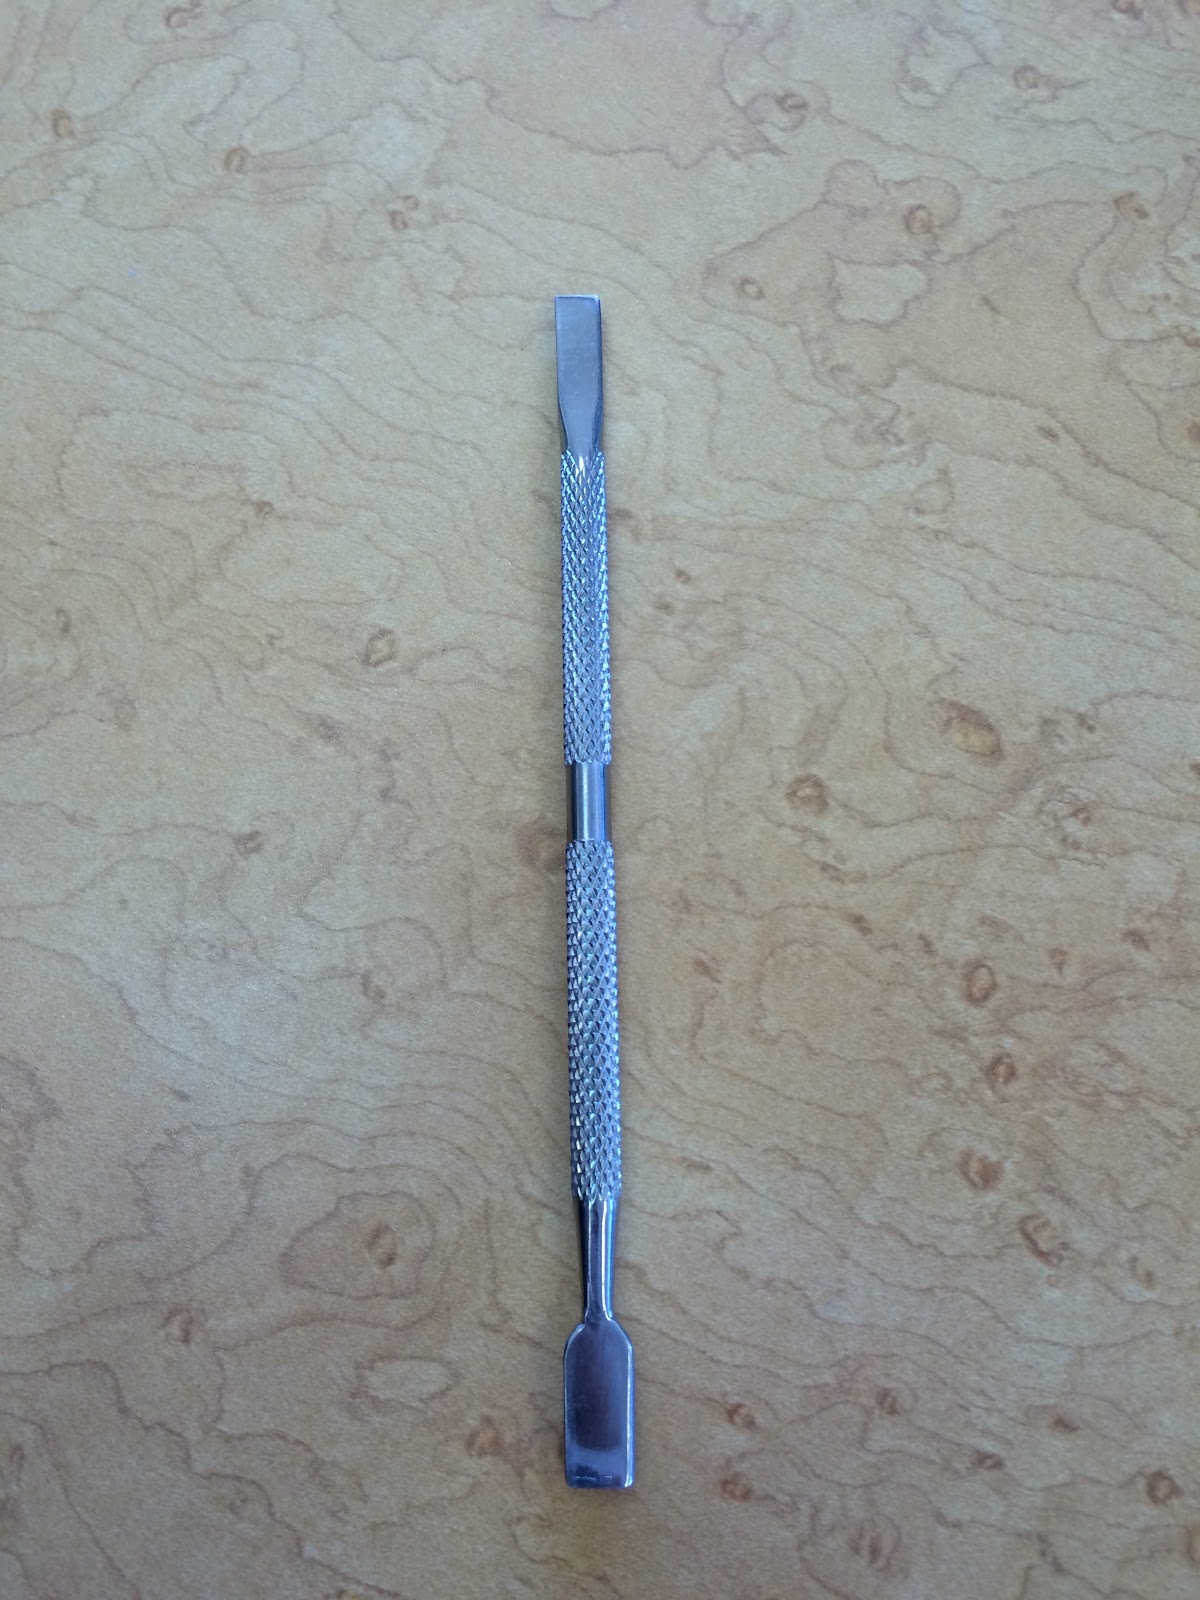
Painting ones nails may seem like an easy process, it can actually be quite complex. Before starting your nails you must first gather the necessary items for the process. In regards to your cuticles, which are at the base of your nails, you must acquire a cuticle pusher, and use by pushing the cuticles down towards the direction in which your knuckles reside.
List of Necessary Items:
Nail Polish Remover
Cotton balls/cue tips
Nail clippers
Nail filer (if need be)
Cuticle Pusher (if you don’t own one, using your nails works just fine)
Desired Nail Polish (we recommend Essie or OPI)
Clear Coat Nail Polish (we recommend Sally Hansen brand)
Paper Towel
(see materials below for example)


Part 1- Preparing the nail
Preparing your nails is an important aspect of painting your nails. Proper nail care will reflect the health and appearance of your nails. Below are the following steps for Part 1: Preparing the Nail:
Step 1. Remove any remaining nail polish. Removing excess nail polish from your nail before you start will give a clean base for your new color.
Step 2. Wash hands. You want to have clean hands and to remove any dirt from under the nail before painting your nails.
Step 3. Cut nails to desired length and use a nail filler to shape. (Refer to picture provided of nail clippers and file) Make sure to not cut your nails too short or to cut your skin. Also, file the edges of your nail to smooth and shape them as desired. Some might want to have the nail boxed shape or have a curved edge to the nail. Either of these work, it just depends on your preference.
Step 4. Push cuticles back using either end of the pusher, so you see the bottom whites of your nails. There are two ends for different size nails. Do not push down too much as that could cause pain and unhealthy nails.
Step 5. Shake nail polish, there should be a ball within the polish to mix and properly distribute the color. Some nail color may need to be shaken aggressively to evenly mix the color.
Part 2- Painting the Nails
Step 6. Unscrew the top of the nail polish, and scrape the excess nail polish on the brush on the inside rim of the bottle. Adding too much nail polish on the brush will make it difficult to paint even coats.
Step 7. Apply the paint going from the base of the nail upwards. Repeat the upward strokes until the entire nail is covered with nail polish( do not paint over the white cuticles). If needed, add more nail polish to the brush from the bottle.
Step 8. Repeat steps 6-7 and paint each remaining nail.
Step 9. Let the first coat of nail polish dry. This step is essential because if you don’t let the 1st coat of nail polish before putting on a 2nd coat, air bubbles could form and the nail polish will take too long to dry. You can use a blow dryer to dry the first coat faster if needed.
Step 10. Add additional coats of nail polish by following steps 10-11 for every fingernail. Apply more coats of nail polish until you have reached your desired color intensity.
Step 11. Touch your finger on the coat of nail polish to check if they are dry. The nail is dry if the coat is hard and does not smudge when touched.
Step 12. If the nail does smudge when you touch it allow it to completely dry and later fix the smudge by applying more nail polish over it, or apply a clear coat of nail polish
In your everyday life you should always strive to be the best version of yourself either it be knowing how to paint your nails and expressing yourself through color, or wearing high heels and prancing around town, then so be it. If that means painting your body blue and calling yourself a Smurf, then so be it! The bottom line is that when you do things to better yourself, your outlook on life can take a turn for the best. When there are more happy people expressing themselves in such a way, the world becomes a happier place. Give yourself the confidence to express yourself, because when doing so, you are probably inspiring people around you. Painting your nails has become a direct correlation with ones self-confidence; no matter who you are you can always add a little pizazz to your life with a swift brush of some nail polish!
(Ignore voices; listen with no sound)


